 or Internet Explorer 9." />
You can record your PowerPoint presentation—or a single slide—and capture voice, ink gestures, and your video presence. When completed, it’s like any other presentation. You can play it for your audience in a Slide Show or you can save the presentation as a video file. So, instead of just “handing the deck” to someone, people can see your presentation with the passion and personality intact.
A new feature for Microsoft 365 was rolled out in early 2022. Exactly when your business has this feature is also based on when your admin distributes new features in Microsoft 365.
This article contains procedures for both the new experience and the classic experience:
or Internet Explorer 9." />
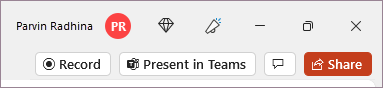
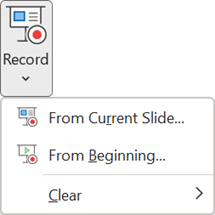
All recording tools are in the Record tab in the ribbon, but you can start by selecting the Record button.
You can also record by selecting one of the options in the Record section of the Record tab.

If you have notes in your presentation, they’re turned into text at the top of the screen so you can use them like a teleprompter as you record.
Tip: Use the auto-scroll feature in teleprompter and set it to scroll at your preferred speed.
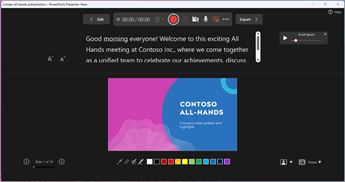
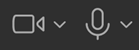
There are several options you can use when you record a presentation. You can turn your camera and microphone on or off by selecting the icons at the top.
There are several options you can use when you record a presentation. You can turn your camera and microphone on or off by selecting the icons at the top. To change your camera or microphone, choose the Select more options icon.
You can even add a customizable camera that can be resized, repositioned, and formatted to go with your slide content. Select Edit, then select Cameo. Adjust the formatting for the camera, then select Record again to return to the recording environment.
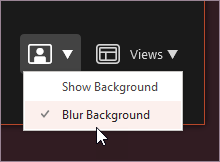
In the Select the camera mode menu, you can select Show Background or Blur Background.
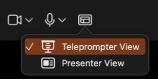
You can also change the layout in the Views menu to switch between Teleprompter, Presenter View, or Slide View.
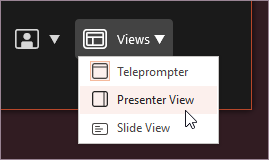
In the Teleprompter view, select the auto-scroll feature. Then adjust the scroll speed as per your preference to refer to script with ease while recording.

Note: Narration won’t record during slide transitions so let those play first before you start speaking.
 and slide timings screenshot four" />

At any time, you can return to your document by selecting the Edit button.
or Internet Explorer 9." />

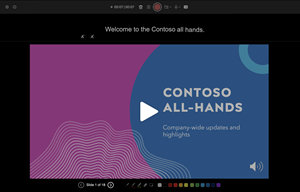
(The Clear command deletes narrations or timings, so be careful when you use it. Clear is grayed out unless you have previously recorded some slides.) The slide show opens in the Recording window (which looks similar to Presenter view), with buttons at the top left for starting, pausing, and stopping the recording. Click the round, red button (or press R on your keyboard) when you are ready to start the recording. A three-second countdown ensues, then the recording begins.


If you use the pen, highlighter, or eraser, PowerPoint records those actions for playback also.
If you re-record your narration (including audio and ink), PowerPoint erases your previously recorded narration (including audio and ink) before you start recording again on the same slide. You can also re-record by going to Slide Show >Record.
In this process, what you record is embedded in each slide, and the recording can be played back in Slide Show. A video file is not created by this recording process. However, if you need one, you can save your presentation as a video with a few extra steps.
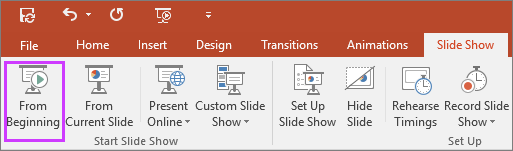
On the Slide Show tab, click From Beginning or From Current Slide.
During playback, your animations, inking actions, audio and video will play in sync.
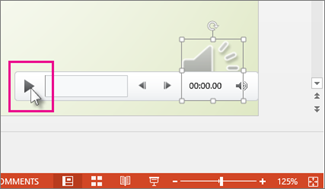
In the Recording window, the triangular Play button near the top left corner lets you preview the recording of the slide that currently has the focus in that window.

In Normal view, click the sound icon or picture in the lower-right corner of the slide, and then click Play. (When you preview individual audio in this way, you won't see recorded animation or inking.)
You can pause playback while previewing the audio.
PowerPoint for Microsoft 365 automatically records your slide timings when you add narrations, or you can manually set the slide timings to accompany your narrations.
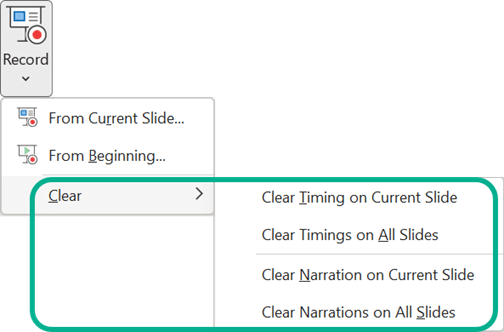
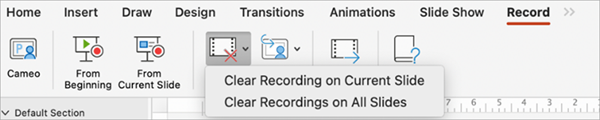
The Clear command is for deleting timings or narration from your recording that you don't want or that you want to replace.
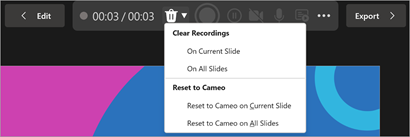
In the Recording window, the Clear command in the top margin of the window allows you to:
In Normal view, there are four different Clear commands that allow you to:
After you've recorded your PowerPoint for Microsoft 365 presentation, any timings, gestures, and audio you performed are saved on the individual slides. But you can turn them all off if you want to view the slide show without them:
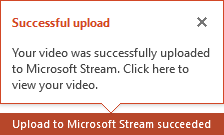
Once you've edited the recording to your satisfaction, you can make it available to others by publishing to Microsoft Stream.
To make your video more accessible by including closed captions, choose from these options, which are described in separate Help articles:
Once you have a closed-caption file, you can add it to your video file by using PowerPoint.
(The Clear command deletes narrations or timings, so be careful when you use it. Clear is grayed out unless you have previously recorded some slides.)

In the Record Slide Show box, check or clear the boxes for your recording, and click Start Recording.
Important: Pen, highlighter, and eraser recording are available only if you have the February 16, 2015 update for PowerPoint 2013 or a later version of PowerPoint installed. In earlier versions of PowerPoint, pen and highlighter strokes are saved as ink annotation shapes.

At the top left corner of the window is the Recording toolbar, which you can use to:

Pause the recording:

Re-record the current slide:
To change the color of the ink, click Ink Color.
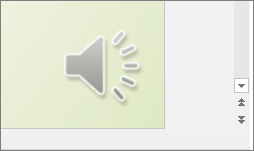
Tip: When you finish recording your narration, a sound icon appears in the lower-right corner of each slide that has narration.
In this process, what you record is embedded in each slide, and the recording can be played back in Slide Show. A video file is not created by this recording process. However, if you want a video file, you can save your presentation as a video with a few extra steps.
On the Slide Show tab, click From Beginning or From Current Slide.
During playback, your animations, inking actions, laser pointer, audio and video play in sync.
In Normal view, click the sound icon in the lower-right corner of the slide, and then click Play.
PowerPoint automatically records your slide timings when you add narrations, or you can manually set the slide timings to accompany your narrations.
Tip: If you want the next slide to appear either when you click the mouse or automatically after the number of seconds that you enter—whichever comes first—select both the On Mouse Click and the After check boxes.
The Clear command is for deleting timings or narration from your recording that you don't want or that you want to replace. There are four different Clear commands that allow you to:
After you've recorded your PowerPoint presentation, any timings, gestures, and audio you performed are saved on the individual slides. But you can turn them all off if you want to view the slide show without them:

Pro Tip: Want to personalize your camera feed to go with your slide content? Create your slide with cameo before recording. Select Recording > Cameo and then select Camera format to style your camera feed.

Toggle video and audio options in the options dropdowns in the recording toolbar.
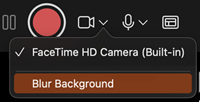
Optionally select blur background in the camera options menu. This feature will help to avoid any background distractions for your audience.

To record your narrations with audio only, use the video button

to toggle the camera off

. Use the record

, pause

, and resume
buttons to control narration and navigation recording.
Use the Preview Play button, mid-screen, to view what you have recorded.

If you would like to rerecord your slide, select the trash can
button on the left of the record button to delete your existing recording, then click the record
Note: Your video will be re-recorded just as you had styled. Tip: Audio, video, and inking elements can all be resized and moved in edit view after recording.
To delete your recording and retain your camera style, do the following:
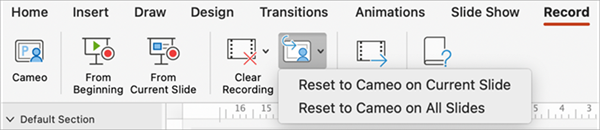
Advance to the next slide or animation